
Short answer: some accessible duct leaks can be sealed by a homeowner, but access alone does not make a job suitable for DIY. The duct material, its condition and the safety of the work area matter too. Hidden runs, damaged connections and uncertain materials need an assessment before you buy sealant.
Updated 1 October 2026. Researched guide for residential forced-air systems, primarily using US sources. Check local requirements and your equipment instructions.
Start with a duct survey, not a shopping list
Write down where each visible run goes and where you lose sight of it. Do not assume a fixed percentage of your ductwork is accessible: an open basement and a finished two-storey house can be very different. This worksheet helps you describe the job to a contractor without opening walls or equipment cabinets.
| Record | Your observation | Question it helps answer |
|---|---|---|
| Location | Basement, attic, crawlspace or finished room | Where would escaping air go? |
| Accessibility | Visible from a safe standing position, partly hidden or inaccessible | Can the joint be inspected safely? |
| Condition | Intact, loose, crushed, wet or uncertain | Is this a sealing job or a repair? |
| Comfort problem | Room, time of day and heating/cooling mode | What result should be checked afterwards? |
| Evidence | Photo number and a brief description | Can someone assess the same location again? |
How to find the leaks without a test rig
A blower door and a duct blaster give numbers. Without them you can still find most of what is worth sealing, because leaking ducts leave evidence. Run the system in its noisiest mode, then look, in this order:
- Follow the dust. A joint that has been leaking for years marks itself. Look for grey or black streaking fanning out from a seam, a take-off collar, or the spiral lock on round pipe. On supply ducts the dirt is on the outside of the joint, deposited by escaping air; on return ducts it collects where air is drawn in. This is the single most reliable tell available to someone with a torch.
- Feel the joints, upstream to downstream. Start at the air handler and work outwards. The pressure is highest near the equipment, so the plenum seams, the take-offs and the first metre of each run leak hardest and are worth finding first. A bare hand is a decent detector; a damp hand is better.
- Look at the boots. The connection between a duct and the register boot, and the gap between the boot and the floor or ceiling it passes through, are chronic leak points and they are the easiest to reach. Lift a floor register and look down into it: a visible gap around the boot is air going straight into the joist bay.
- Check the returns especially. Many houses use the cavity between joists or studs as a return, panned over with sheet metal. That construction is almost never airtight, it is under suction, and whatever it touches — attic, crawlspace, garage — is what it will pull in.
- Listen. A whistle or a steady hiss near the plenum when the fan is at full speed is a hole big enough to find by ear.
A smoke pencil or an incense stick makes air movement visible and is the traditional tool for this. Two cautions: never use an open flame or smoke source near a fuel-burning appliance, its venting or any gas connection, and remember that a leak detected while the fan is running may behave differently when it is not.
Photograph everything you find, with something in the frame for scale, and number the photographs to match your survey. If the job turns out to be someone else’s, those photographs are what stop the conversation being about percentages.
What the leakage figure actually means
ENERGY STAR estimates that a typical house loses about 20–30% of the air moving through its ducts through leaks, holes and poor connections. That is a general estimate, not a measurement of your home or a promised reduction in your bill.
A useful distinction is the location of the leak. Air escaping into an unconditioned space affects the building differently from air escaping within its conditioned envelope. A professional leakage test gives better evidence than guessing savings from a visible gap.
Why the location of a leak matters more than its size
Treating duct leakage as a single percentage hides the thing that actually determines whether it costs you money, comfort or safety. Two leaks of identical size can have completely different consequences depending on which side of the system they are on and which side of the insulated envelope they sit in.
A supply leak inside the conditioned space — a seam in a basement you heat, say — delivers air to the wrong room. It is a comfort and balance problem. The energy mostly stays in the house.
A supply leak outside the conditioned space — in a vented attic, a crawlspace or a garage — is energy you paid for, leaving. It also pressurises that space relative to the house, which in an attic pushes warm moist air up into the insulation in winter, where it can condense.
A return leak outside the conditioned space is the one to care about most. The return is under suction, so it does not lose air, it gains it: attic dust, crawlspace damp, garage fumes, insulation fibres, whatever is in that space, drawn into the air you breathe and across the coil. It also dilutes the return air with unconditioned air, which is why a system with leaky returns can run constantly and still disappoint.
There is a further effect that explains complaints which otherwise make no sense. If supply and return leakage are unequal, the house itself ends up slightly pressurised or slightly depressurised whenever the fan runs, and the difference is made up by air forced through, or pulled in through, every crack in the building. A house that is draughty only when the system is running is usually telling you about duct imbalance rather than about its windows. That same depressurisation is the mechanism behind backdrafting, which is why the guidance below insists on a combustion safety check where fuel-burning appliances are present, and why sealing the returns and the supplies by unequal amounts is not automatically an improvement.
So when you record a leak, record which side it is on and whether the space around it is inside or outside your insulation. Those two facts decide what it is worth.
Which materials are appropriate?
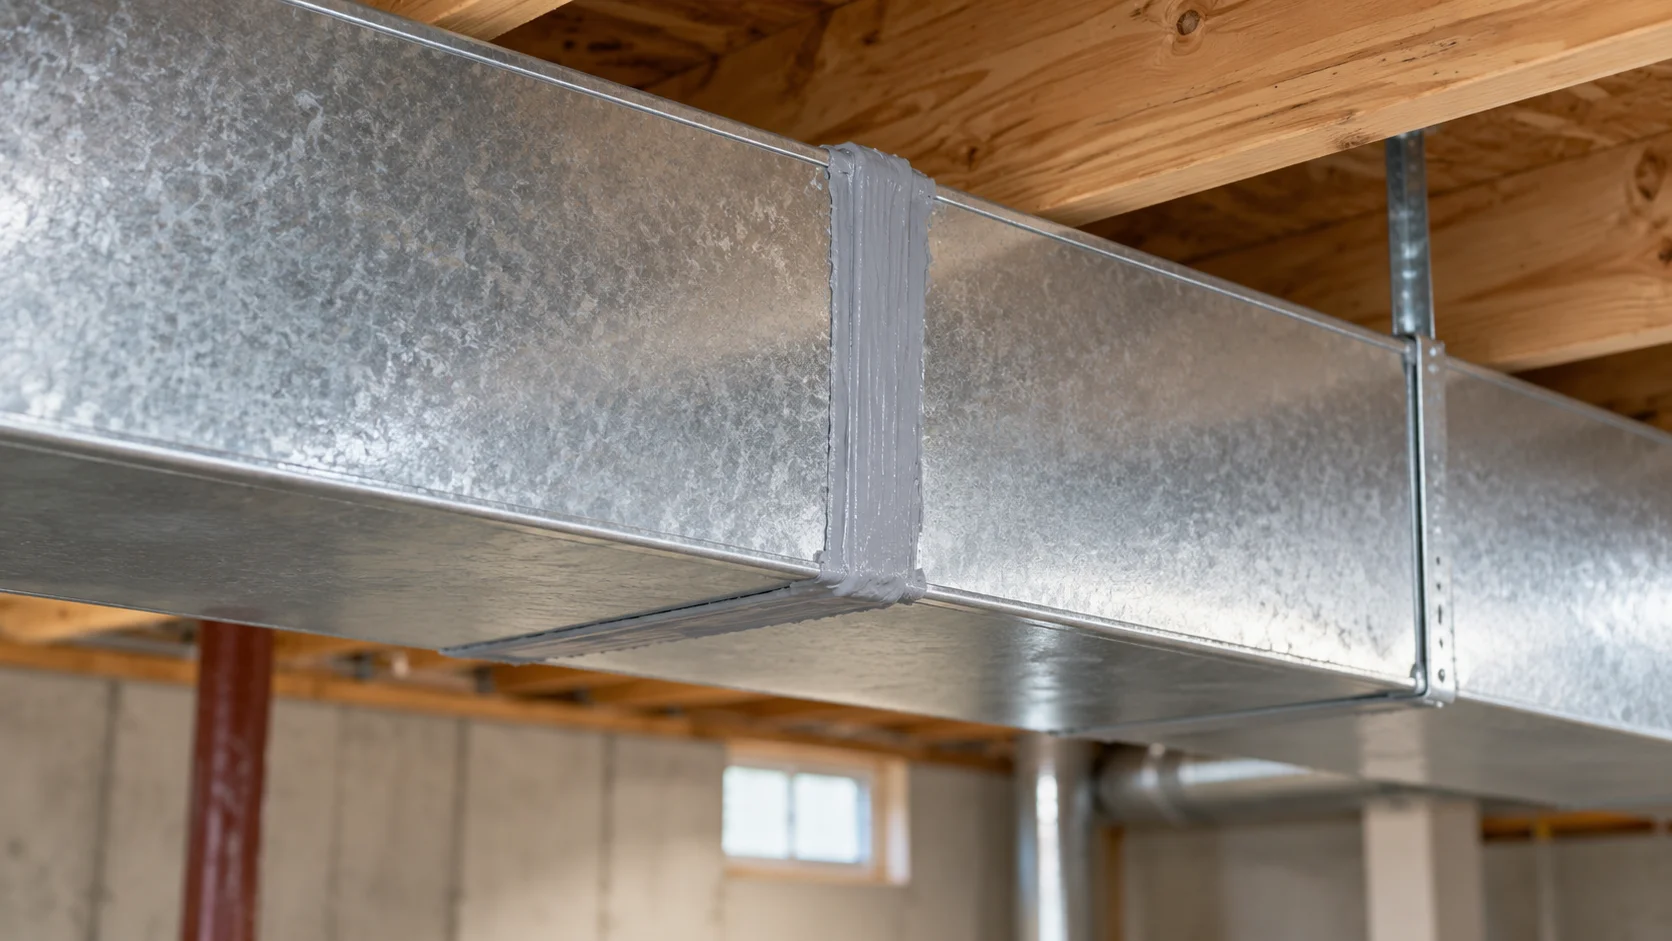
ENERGY STAR recommends mastic or metal tape for accessible leaks and warns against ordinary cloth-backed duct tape. Register-to-building connections also deserve attention. Select a product intended for your particular duct material and follow its instructions for preparation, application and curing.
The Department of Energy’s metal-duct guidance references mastic or metal tape meeting the relevant UL-181, UL-181A or UL-181B requirements. An adhesive being silver does not establish its suitability. Sealing and insulating are separate tasks: insulation addresses heat transfer through duct walls, while sealant addresses air leakage. Insulation and its vapor barrier need appropriate installation, particularly where condensation is possible.
If you do it yourself, the method matters as much as the material
Mastic is forgiving stuff, and most homeowner failures are not about the product. They are about the five minutes before it goes on.
- Mechanical first, sealant second. Sealant is not a fastener. A joint that moves, a collar that is not screwed, a flex duct that is not strapped to its collar, or a run that has come apart entirely needs fixing mechanically first. Mastic brushed over a disconnected duct is a tidy-looking failure.
- Clean and dry. Mastic does not bond to dust, grease or damp metal, and the surfaces that leak are the surfaces that are dirtiest, for exactly that reason. Wipe the joint before you start.
- Mesh across anything wide. Mastic manufacturers generally direct that gaps beyond a few millimetres be bridged with fibreglass mesh tape embedded in the mastic, rather than filled with mastic alone, which will crack as it shrinks. Your product’s instructions give the threshold that applies to it.
- Thickness, not elegance. The common mistake is painting it on like paint. A brushed coat that looks generous is roughly what is wanted, carried past the joint onto sound material on both sides.
- Respect the cure. It needs time, and it needs the stated temperature range. Sealing an attic duct on a freezing morning is a job that will have to be done again.
- Flex duct has an inner liner. The part that has to be sealed is the inner liner at the collar, under the insulation and the outer jacket — not the jacket. Sealing the outside of a flex connection achieves nothing except the appearance of work.
Two things to leave alone regardless of confidence: anything wrapped in material you cannot identify, which in older houses is a reason to stop and ask, and any duct that is wet. Moisture in a duct is a symptom with its own cause, and sealing it in does not address it.
Hidden ducts: ask for options and measurements
If a run disappears behind finished surfaces, ask how the contractor will locate and evaluate the leak. Do not accept “all hidden ducts need the same treatment” as a diagnosis. Request an explanation of access work, repair options and whether an aerosol sealing process is suitable for your system.
ENERGY STAR’s contractor checklist includes inspecting the whole system, repairing disconnected or damaged ducts, assessing supply and return balance and checking airflow after repairs. A crushed or disconnected run needs more than a surface coating.
Know where to stop
Do not disturb unidentified insulation, deteriorated wrap or suspected hazardous material. Do not enter an unsafe attic or crawlspace, cut ductwork, open electrical compartments or alter combustion venting as part of this guide. If fuel-burning appliances are present, arrange professional assessment of combustion safety; ENERGY STAR calls for checks against backdrafting after duct sealing.
Return leaks also matter. DOE explains that poorly sealed returns in unconditioned spaces can draw contaminants into the system. A persistent odor or moisture problem deserves investigation, rather than simply covering the nearest visible seam.
Five questions before accepting a quote
- Which specific defects did you find, and can you show me?
- Does the quote distinguish reconnection, sealing, insulation and airflow work?
- What test or observation will document the improvement?
- What remains inaccessible or excluded from the price?
- Which safety checks are included for my equipment?
Keep the survey, photos and quote together. After the work, record whether the original room complaint improved under comparable operating conditions. A single quieter room does not establish a percentage energy saving.
Related problems
- Drafts around the building rather than the ducts? Read how to look for air leaks.
- Weak airflow throughout the home? Start with the return-air guide.
- Considering a booster for one uncomfortable room? See what a duct booster can and cannot address.
Basis and limitations: this is a source-based planning guide, not a hands-on test or a diagnosis of your installation. The worksheet and quote questions are editorial tools. Technical sources are linked beside the relevant claims. See our editorial standards and send a correction.